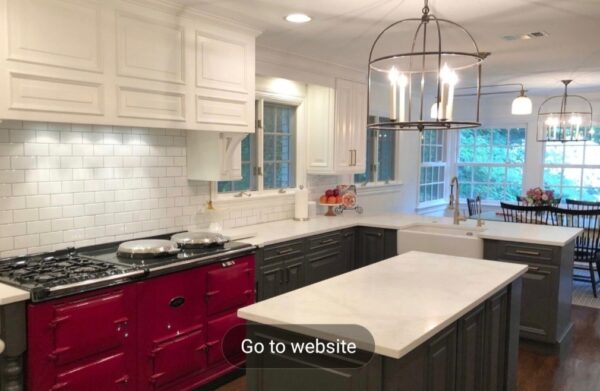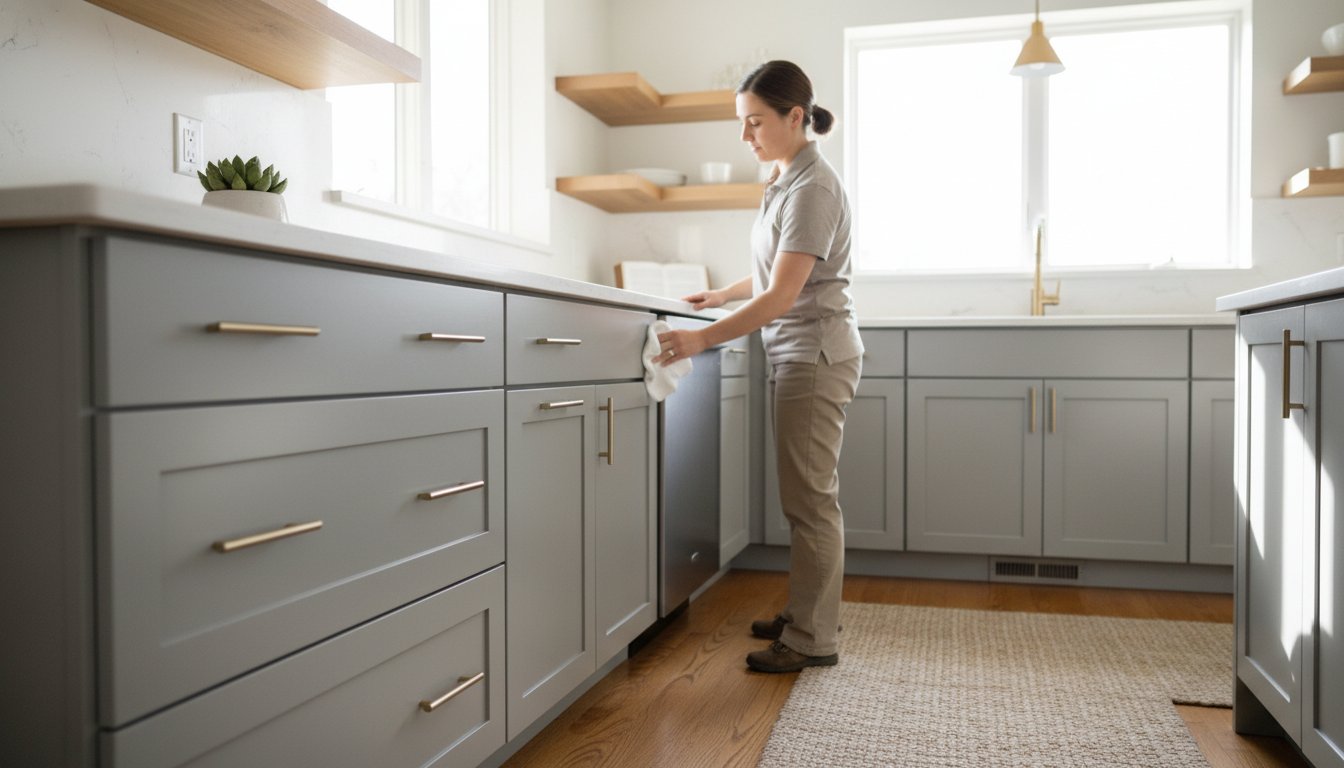
You stand in your kitchen, hand resting on a solid oak drawer front that has been there since the house was built. The finish is tired. The corners are worn. Maybe there is a water stain near the sink that catches your eye every morning. The question is unavoidable: do you rip out these cabinets and start fresh, or can they be saved? That question carries extra weight in Castle Rock, Castle Pines, Highlands Ranch, and Parker, where custom-built homes and older properties hold craftsmanship you simply cannot buy off a shelf today. This guide walks you through the real costs, the actual timelines, and the proven techniques behind historic wood cabinet restoration and refinishing, so you can make a decision you will be happy with ten years from now. We will also explain what a true factory finish means and why it separates professional restoration from a weekend DIY project.
Table of Contents
- Why Restore? The Case for Keeping Your Original Wood Cabinets
- Historic Restoration vs. Refinishing vs. Refacing: What’s the Difference?
- The 5-Step Process of Professional Historic Wood Cabinet Restoration
- DIY vs. Professional Restoration: The Real Cost of Your Time
- Common Problems in Historic Cabinets and How Professionals Fix Them
- Frequently Asked Questions About Historic Wood Cabinet Restoration
- Restore Your Historic Cabinets in Castle Rock, Parker, and Highlands Ranch
Why Restore? The Case for Keeping Your Original Wood Cabinets
The first thing most homeowners ask is whether restoration is actually worth it. The numbers tell a clear story. A professional historic cabinet restoration typically ranges from $1,295 for a basic cleansing and polishing package to around $3,850 for a full five-step premium restoration. Compare that to the cost of new semi-custom cabinets, which starts around $8,000 and easily climbs past $15,000 for a full kitchen. Even at the high end of restoration pricing, you are saving 50 to 70 percent compared to replacement. That is real money that stays in your pocket or funds other parts of the renovation.
There is also an environmental argument that rarely gets made in this industry. Every set of cabinets pulled out of a kitchen ends up in a landfill. Solid wood cabinets represent trees that were harvested, milled, and crafted decades ago. Keeping them in service means keeping that material out of Colorado’s waste stream. Restoration is the most sustainable choice you can make in a kitchen remodel, and it is one that more homeowners in Douglas County are embracing as they look for ways to reduce their footprint without sacrificing quality.
Then there is the character factor. Open a drawer on a cabinet built in the 1960s or earlier and look at the joinery. You will likely see dovetail joints, solid wood drawer boxes, and face frames cut from a single piece of oak, cherry, or birch. Modern cabinets at the same price point use MDF, particle board, and stapled construction. That original joinery is not just charming; it is structurally superior. Restoring it preserves something that cannot be replicated affordably in 2026.
Finally, consider resale value. In the Castle Rock and Parker markets, buyers actively seek out homes with original, well-maintained woodwork. A thoughtfully restored kitchen signals that the home has been cared for, not flipped. Real estate agents in the area will tell you that a quality restoration often delivers a better return than a mid-range replacement, because it sets the home apart from every other listing with gray laminate cabinets.
Historic Restoration vs. Refinishing vs. Refacing: What’s the Difference?
These three terms get thrown around interchangeably, but they describe very different scopes of work. Understanding the distinctions will help you communicate what you want and avoid paying for services you do not need.
Restoration is the full treatment. It involves stripping the existing finish completely, repairing structural damage such as water stains, warped panels, or loose joinery, and then re-staining and sealing the wood. This is the right path for solid wood cabinets with genuine historic value, the kind found in older homes throughout Highlands Ranch and the established neighborhoods of Castle Rock. It aligns with what premium service packages deliver: a comprehensive, multi-day process that brings cabinets back to their original condition or better.
Refinishing is a surface-level fix. The focus is on the top layer: sanding down the existing finish and applying a new stain or paint. This works well for cabinets that are structurally sound but suffer from a faded, yellowed, or simply dated appearance. If your cabinets are in good shape and you just want a color change, refinishing may be all you need.
Refacing is a cover-up. The cabinet boxes stay in place, but the doors and drawer fronts are replaced, and a veneer is applied to the exposed face frames. For a historic home, this is almost always the wrong move. Refacing hides the original wood grain and joinery behind new materials that are often lower in quality. It is a solution designed for builder-grade cabinets that were never special to begin with.
There is a philosophy worth borrowing here: read the room. If your home has period-specific architecture, such as a 1920s Georgian, a mid-century ranch, or a Victorian with original built-ins, restoration is the only path that honors the house. If the cabinet boxes are particle board and the doors are thermofoil, then refacing or replacement makes more sense. The wood itself tells you what it needs.
The 5-Step Process of Professional Historic Wood Cabinet Restoration
Step 1: Assessment and the Honest Rule on Color Change
Every professional restoration begins with an on-site assessment. The technician inspects for water damage around the sink and dishwasher, checks for loose joints and cracked panels, and evaluates the condition of the veneer if the cabinets are mid-century. This is also the moment for a candid conversation about color. The honest rule is this: going darker or staying in the same tonal family is straightforward and yields beautiful results. Going dramatically lighter is difficult and often disappointing. Old stain penetrates deep into the grain and settles into corners where sanding cannot fully reach. In Castle Rock, many homes from the 1980s and 1990s feature dark oak cabinets. Restoration can lighten them somewhat, but it requires aggressive sanding and sometimes careful bleaching. A professional will tell you what is realistic before any work begins.
Step 2: HEPA-Sanded Stripping Without Harsh Chemicals
Many DIY guides recommend chemical strippers to remove old finish. Professional restoration takes a different approach: HEPA-sanded stripping. This method uses industrial sanding equipment paired with high-efficiency particulate air filtration to remove the old finish mechanically, without introducing volatile organic compounds into your home. For families in Highlands Ranch and Parker who are living in the house during the project, this is a critical distinction. Chemical strippers off-gas for weeks. HEPA sanding is dust-free and safe for children, pets, and anyone with respiratory concerns. The old finish comes off cleanly, and the raw wood is left ready for the next step.
Step 3: Repairs and Re-engineering
This is where the factory finish advantage begins to separate professional work from anything a homeowner can achieve. Loose dovetail joints are re-glued and clamped. Broken hinges are replaced with period-appropriate hardware sourced to match the original. Water-damaged panels are either patched with epoxy and sanded flush or replaced entirely with matching wood species. Drawer slides are upgraded where needed. This step is labor-intensive and requires a working knowledge of historic cabinet construction. It is also what distinguishes a starter-level service from a premium restoration. The extra investment here pays off in cabinets that function like new while retaining their original soul.
Step 4: Staining and Finishing
Applying stain to restored wood is an art. The goal is not just to add color but to build depth that highlights the natural grain pattern. Professionals apply multiple layers, wiping and blending between coats to achieve an even, rich tone that matches the original or achieves the updated look you want. Think of it as a rejuvenating treatment for the wood: cleansing away the old, toning with stain, and then protecting with a durable topcoat. The topcoat itself matters enormously. Professional shops use conversion varnish or catalyzed lacquer, finishes that cure harder than anything available at a retail paint store. These products resist chipping, yellowing, and moisture in ways that standard polyurethane cannot match.
Step 5: Reinstallation and Final Touch-Ups
Once the finish has cured, the cabinets are reinstalled with careful attention to alignment. Doors are adjusted so they hang perfectly. Drawers glide smoothly. If you have chosen to upgrade to soft-close hinges, this is when they go in. The final result should look like it came from a high-end factory, but with the warmth and character that only aged wood can provide. Any minor touch-ups are addressed on site, and the kitchen is left clean and functional.
DIY vs. Professional Restoration: The Real Cost of Your Time
The internet is full of step-by-step cabinet restoration tutorials. The most popular ones outline eight or more stages, from removing hardware to stripping, sanding, staining, and reinstalling. What those guides leave out is the timeline. For a typical homeowner working evenings and weekends, a full kitchen restoration takes two to four weeks. During that entire period, your kitchen is a construction zone. Cabinet doors are laid out in the garage. Drawers are stacked in the dining room. Cooking means a microwave and a prayer.
Professional restoration teams complete the same work in one to three days. Your kitchen is out of service for a long weekend, not a month.
Then there are the hidden costs of the DIY route. A quality HVLP sprayer, a good random-orbit sander, sanding discs in multiple grits, stain, topcoat, respirators, drop cloths, and miscellaneous supplies will run between $500 and $1,000. That is before you factor in the value of your time or the risk of a bad outcome. A single misstep with stain on a $10,000 cabinet set can leave you with blotchy, uneven results that are more expensive to fix than the original restoration would have cost.
DIY makes sense for a single cabinet, a bathroom vanity, or a piece of furniture. If you are an experienced woodworker with a dedicated shop space, you may be able to tackle a full kitchen. For everyone else, and especially for historic cabinets in a home you care about, the professional route is the safer, faster, and often more economical choice.
Common Problems in Historic Cabinets and How Professionals Fix Them
Water damage is the most frequent issue, particularly in the sink base cabinet and anywhere near a dishwasher. Over years of small leaks and condensation, the wood swells, the finish fails, and the panel can warp. A professional can often steam-straighten a warped door. If the damage is too severe, the affected panel is replaced with matching wood and the entire cabinet is refinished so the repair disappears.
Broken hinges and worn drawer slides are another hallmark of older kitchens. Original hardware on historic cabinets is often irreplaceable, with screw patterns and dimensions that do not match anything sold today. Restoration involves either refurbishing the original hardware or sourcing period-appropriate reproductions that fit the existing holes. This preserves the look without compromising function.
Veneer peeling is common on mid-century cabinets, where thin sheets of walnut or mahogany were glued to a substrate. Over time, heat and humidity break down the adhesive. The fix involves injecting hide glue or a modern equivalent beneath the veneer and clamping it until cured. If the veneer is too far gone, the damaged section is cut out and a new piece is grain-matched and applied.
Old varnish that has yellowed and ambered over decades gives cabinets a dated, muddy appearance. The solution is a full strip followed by a water-white lacquer that restores the true color of the wood underneath. The difference can be startling: what looked like a dark, gloomy kitchen reveals itself as warm, vibrant cherry or oak.
Frequently Asked Questions About Historic Wood Cabinet Restoration
Can you restore cabinets that have been painted?
Yes, but it requires aggressive stripping to remove every layer of paint without damaging the wood profile underneath. This is labor-intensive work best left to professionals with the right equipment.
How much does historic cabinet restoration cost vs. replacement?
Restoration typically costs between $1,200 and $4,000 for a full kitchen. Replacement with semi-custom cabinets runs $8,000 to $20,000 or more. You save 50 to 70 percent by restoring.
How long does the restoration process take?
Professional restoration takes one to three days on site. A DIY attempt takes two to four weeks of nights and weekends.
Is it worth restoring 1980s oak cabinets?
Absolutely. Solid oak cabinets from that era are built to a standard that is expensive to replicate today. A dark stain can be lightened, or a modern glaze can be applied to update the look while keeping the quality construction.
Restore Your Historic Cabinets in Castle Rock, Parker, and Highlands Ranch
Historic wood cabinets carry the story of your home. They were built by hands that valued craftsmanship, using wood that has only grown more beautiful with age. Our team understands the specific architectural styles and wood species found throughout Douglas County and the south Denver metro area. We bring a factory-finish process to every project, using catalyzed lacquers and conversion varnishes that cure harder and last longer than anything applied by a standard refinisher. The result is a durable, chip-resistant surface that looks like it came from a high-end millwork shop.
If you are weighing restoration against replacement, we offer a free on-site consultation to assess your cabinets and give you an honest recommendation. We will tell you what is possible, what is not, and exactly what it will cost. To learn more about our approach to cabinet refinishing across the Denver area, visit our guide on cabinet refinishing Denver homeowners have trusted for years. For those considering a broader kitchen transformation, our page on painting kitchen cabinets Denver covers the full range of finish options available. Contact us today to schedule your assessment and see what your historic cabinets can become.