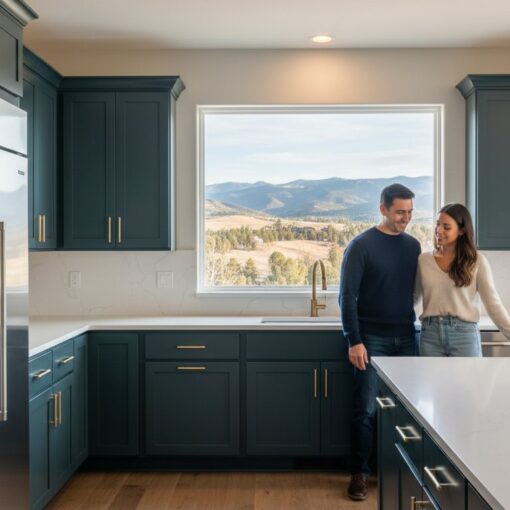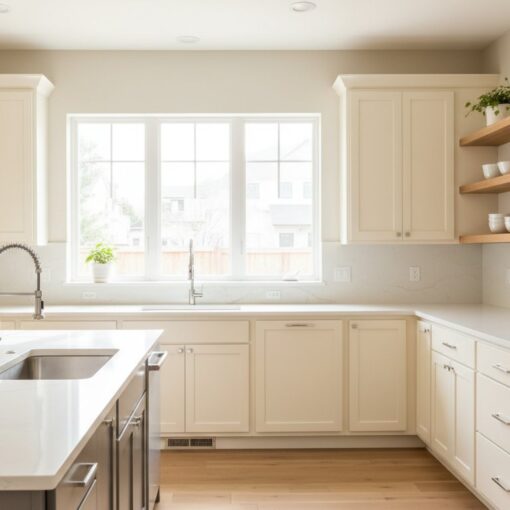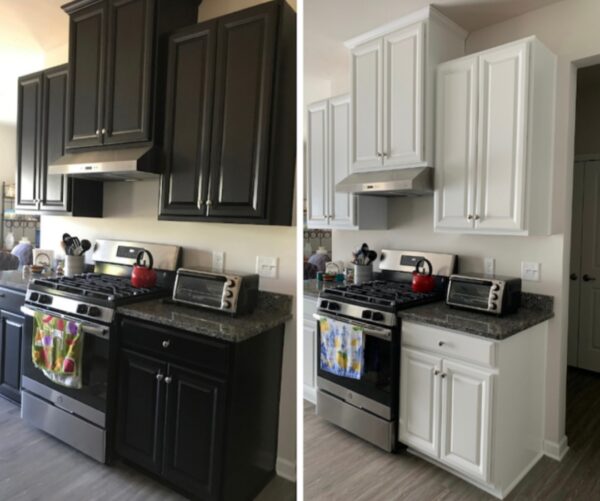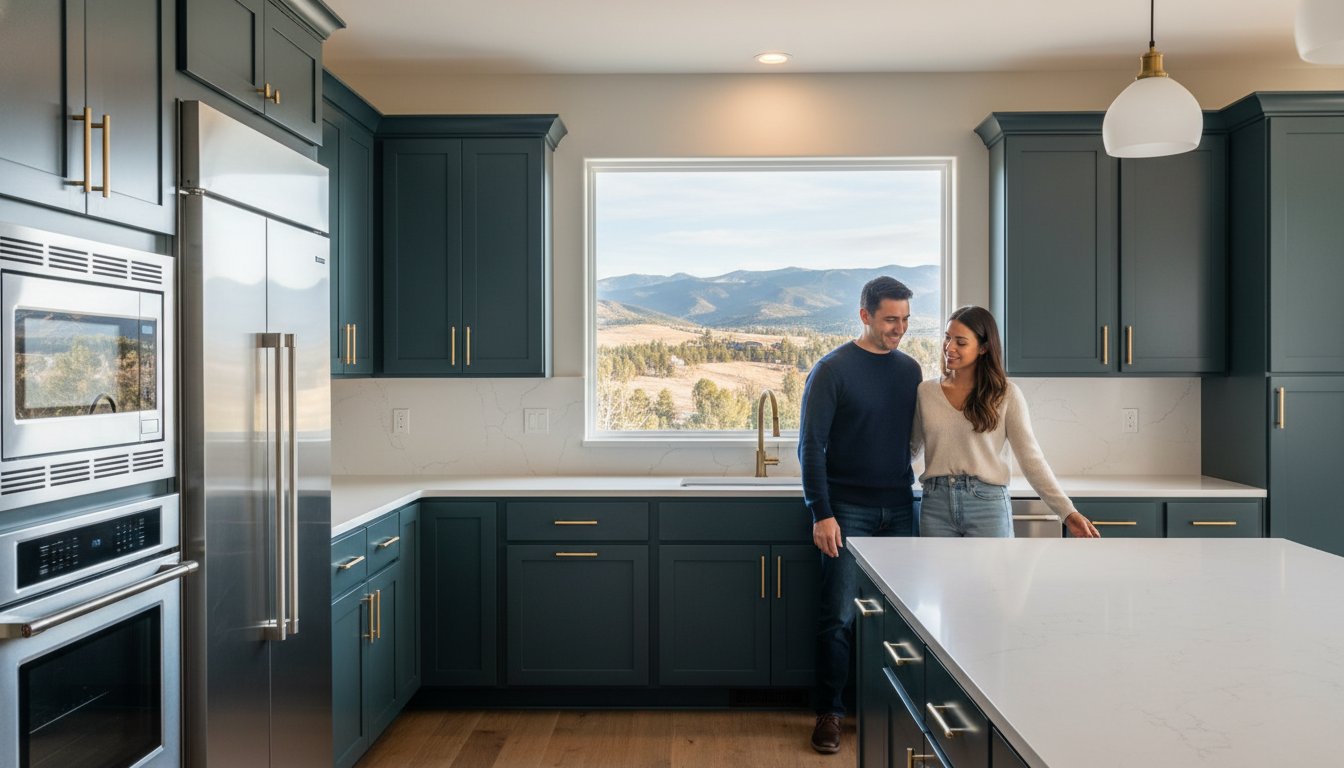
If you are searching for professional cabinet refinishing services for dark wood to light finish, you likely know the struggle. Your kitchen feels heavy, dated, and perpetually dim no matter how many lights you turn on. The dark espresso or honey-oak cabinets that once felt warm now close in the space, making the heart of your home feel more like a cave. You have probably wondered whether it is even possible to strip away those deep, saturated tones and reveal something bright, airy, and modern underneath. The short answer is yes, it is absolutely possible. The longer answer is that doing it right requires more than a can of white paint and a weekend of optimism. This guide walks you through everything: the real costs, the professional process, the wood-type challenges, and how to choose the right contractor for your home in Castle Rock, Castle Pines, Highlands Ranch, and Parker, Colorado.
Table of Contents
- Why Homeowners Are Switching from Dark Wood to Light Finishes
- The Cost of Cabinet Refinishing Services for Dark Wood to Light Finish
- The Professional Process: How We Take Dark Cabinets to a Light Finish
- Can You Go from Dark to Light Without Stripping or Sanding?
- Challenges of Dark-to-Light Refinishing by Wood Type
- Cabinet Refinishing vs. Alternatives: Which Is Right for You?
- How to Choose a Cabinet Refinishing Service in Castle Rock, CO
- Frequently Asked Questions About Dark-to-Light Cabinet Refinishing
- Ready to Transform Your Dark Kitchen? Contact Us Today
The popularity shift away from dark espresso, mahogany, and golden-oak stains toward light, airy kitchens is not a passing trend. White, cream, soft greige, and natural light-oak finishes now dominate design magazines, model homes, and buyer wish lists across the Denver metro area. Homeowners want kitchens that feel open, clean, and flooded with natural light. What makes this transformation particularly appealing is that refinishing, not replacing or refacing, is the most cost-effective path for this specific color change. The core challenge, however, is that dark pigment does not simply wipe away. It is deeply embedded in the wood fibers, and achieving a true light finish that lasts requires skill, proper preparation, and professional-grade materials. This article covers the full scope: what the service costs, how the process works step by step, which wood types present the biggest hurdles, and how to evaluate a contractor who promises a factory finish without the factory price tag.
Why Homeowners Are Switching from Dark Wood to Light Finishes
The motivation behind the dark-to-light migration is both aesthetic and practical. Dark cabinets absorb light. In a kitchen with limited natural light or standard eight-foot ceilings, espresso or cherry cabinetry can make the room feel smaller, heavier, and visually cluttered. Light finishes do the opposite. They reflect ambient and natural light, making the same footprint feel larger, taller, and more welcoming. This is especially relevant in Colorado homes where open-concept layouts connect the kitchen to living and dining areas. A dark kitchen can anchor the entire great room in shadow.
Resale value is another driver. Buyers touring homes in Castle Rock, Highlands Ranch, and Parker consistently favor light, neutral kitchens. A bright kitchen photographs better in listings, shows better during open houses, and signals to buyers that the home is move-in ready. Even if you are not planning to sell this year, the flexibility that light cabinets provide is worth considering. White, cream, and light gray cabinets pair effortlessly with a wide range of countertop materials, backsplash tiles, and hardware finishes. Brass, matte black, polished nickel, and chrome all work against a light backdrop, giving you freedom to refresh the kitchen’s look over time without touching the cabinets again.
There is also the quality factor. When a professional refinishing service applies a sprayed finish using commercial-grade coatings, the result is a surface that looks and feels like it came from a cabinet factory. No brush strokes, no roller stipple, no uneven sheen. That factory-finish standard is what separates a professional transformation from a DIY attempt that announces itself the moment you walk into the room.
The Cost of Cabinet Refinishing Services for Dark Wood to Light Finish
Understanding the investment required helps set realistic expectations. Nationally, professional cabinet refinishing for a full kitchen typically ranges from $1,200 to $5,500. In the Colorado market, pricing may lean toward the middle and upper end of that range due to labor rates and the extra preparation that dark-to-light projects demand. The reason dark-to-light refinishing costs more than a simple color refresh is straightforward: the existing dark stain or paint must be thoroughly addressed before any light finish can be applied. This means more sanding, more primer, and more labor hours.
When comparing your options, it helps to understand the cost tiers across the three main approaches. Refinishing, which involves sanding, priming, and spraying your existing cabinet boxes and doors, falls in that $1,200 to $5,500 range and represents the most affordable path to a complete color change. Refacing, by contrast, replaces your doors and drawer fronts entirely and applies a matching veneer to the cabinet boxes. That process starts around $5,000 for a small kitchen and can exceed $15,000 for a large one. Full replacement, which means tearing out everything and installing new custom or semi-custom cabinetry, routinely runs $15,000 to $30,000 or more. For homeowners whose cabinet boxes are structurally sound and whose layout works well, refinishing delivers the dramatic transformation at a fraction of the cost.
Several factors influence where your specific quote will land. The number of cabinets and drawers is the obvious starting point. The wood species matters significantly: maple sands differently than oak, and cherry presents its own challenges. The current stain darkness dictates how much sanding and priming is necessary to block the old color. Finally, your chosen finish affects the price. A solid paint finish in white or cream is generally more straightforward than a light-toned translucent stain or whitewash, which requires more precision to achieve an even, natural look over previously dark wood.
The Professional Process: How We Take Dark Cabinets to a Light Finish
A successful dark-to-light transformation follows a disciplined sequence. Cutting corners at any stage compromises the final result, and with light finishes, every shortcut becomes visible.
Step 1: Deep Cleaning and Degreasing
Kitchen cabinets accumulate years of cooking grease, airborne oils, and general grime. This film is invisible in daily life but catastrophic for paint adhesion. A simple wipe-down with household cleaner is not sufficient. Professional services use commercial-grade degreasers that strip away every trace of contamination. This step is especially critical around the cooktop and exhaust hood, where grease buildup is heaviest. If degreasing is skipped or done poorly, the new finish will eventually peel, bubble, or separate from the surface.
Step 2: Sanding to Bare Wood
This is the step that separates lasting results from short-term cover-ups. For a dark-to-light stain transformation, the wood must be taken down to its raw, natural surface. Every trace of the old pigment must be removed from the grain. Dense, open-pored woods like red oak require extra attention because the dark stain penetrates deep into the grain structure. For projects where the final finish will be a solid paint color rather than a stain, the sanding goal shifts slightly. The existing finish is scuffed thoroughly to create a mechanical bond for the primer, but going all the way to bare wood is not always necessary if a high-quality stain-blocking primer is used. The key insight here is that skipping or under-sanding leads to tannin bleed-through, where the dark wood’s natural oils and the old stain migrate up through the new light finish, creating yellowish or brownish discoloration within weeks or months.
Step 3: Priming for Light Coverage
Once the surface is prepared, a high-quality, stain-blocking primer goes on. For dark-to-light work, this primer is typically white or a light gray tint that helps neutralize the underlying wood tone. The goal is to create a uniform, opaque base that completely masks the dark history of the cabinet. Multiple thin coats are always better than one thick coat. Thin coats dry faster, level out more smoothly, and reduce the risk of drips, sags, and the textured orange-peel effect that mars poorly executed paint jobs.
Step 4: Spraying the Finish
This is where the factory-finish difference becomes tangible. Professional refinishers use HVLP (high-volume, low-pressure) spray systems that atomize the coating into a fine mist, depositing it in smooth, even layers. Brushes and rollers cannot replicate this result. A sprayed finish has no brush marks, no stipple texture, and no uneven buildup in corners or panel grooves. The coating options include solid-color paints in white, cream, greige, or soft gray, as well as light-toned translucent stains and whitewashes for homeowners who want to retain some wood grain visibility. The sprayed application also ensures that the finish cures to a hard, durable shell that resists chipping, scratching, and yellowing far better than a brushed-on product.
Step 5: Curing and Reinstallation
After spraying, the doors and drawer fronts need proper curing time. A minimum of 24 to 48 hours in a controlled environment allows the coating to harden fully before the pieces are handled and reinstalled. Rushing this phase leads to fingerprints, dents, and adhesion failures. Once cured, the doors are re-hung, drawer fronts are reattached, and hardware is installed with careful attention to alignment and function. The kitchen is reassembled and ready for daily use, looking like an entirely new space.
Can You Go from Dark to Light Without Stripping or Sanding?
This question surfaces constantly in DIY forums and social media groups, and the appeal is understandable. Sanding is messy, time-consuming, and intimidating. The idea of simply painting over dark cabinets with a heavy-duty primer and calling it done is tempting. For a professional, lasting result, however, the answer is no. Sanding or chemical stripping is required to remove or mechanically break through the dark pigment layer. The videos and posts that claim otherwise typically show results that look acceptable for a few months. Then the tannins bleed through, the paint begins to peel at the edges, and the homeowner is left with a kitchen that looks worse than when they started.
There is a narrow exception. If you are using a heavy-bodied solid paint, not a stain, and you apply a high-bonding primer specifically formulated for adhesion to slick surfaces, you can minimize the amount of sanding required. Even then, scuffing the surface with fine-grit sandpaper is the minimum preparation needed to give the primer something to grip. The recommendation from professionals who warranty their work is consistent: trust a service that includes proper preparation in the quote. It saves you from paying for the same job twice.
Challenges of Dark-to-Light Refinishing by Wood Type
Not all wood behaves the same way when you try to take it from dark to light. Understanding your cabinet species helps set realistic expectations for the final result.
Red oak is one of the most common cabinet woods and one of the most challenging for this transformation. Its open grain structure acts like a sponge, absorbing dark stain deep below the surface. Even after aggressive sanding, pigment can remain lodged in the grain pores. Without grain filling or a heavy primer, the dark color can ghost through the new light finish. A solid paint finish is often the most reliable choice for red oak.
Maple has a tight, closed grain that sands cleanly and evenly. This makes it easier to prepare for a light finish. However, maple is prone to blotching when stain is applied, absorbing color unevenly across the surface. For this reason, maple cabinets going from dark to light are often best served by a solid paint finish, which delivers uniform color without blotching risk.
Cherry presents a unique challenge because the wood itself darkens naturally with age and light exposure. Sanding to bare wood reveals a lighter surface, but that surface will continue to darken over time underneath a clear or translucent finish. A light paint or an opaque whitewash is typically more successful than attempting to stain cherry lighter than its natural tone.
Hickory and knotty alder feature highly varied grain patterns with dramatic color shifts between heartwood and sapwood. Taking these woods from dark to light while preserving their natural character is extremely difficult. The dark stain settles into the grain irregularities, and removing it completely without erasing the wood’s character requires painstaking work. Most homeowners with these species opt for a solid white or cream paint finish that unifies the look while still allowing some grain texture to show through.
Cabinet Refinishing vs. Alternatives: Which Is Right for You?
Refinishing is not the only path to a brighter kitchen, but it is the most direct and cost-effective one for changing color. The process keeps your existing cabinet boxes and door structures intact while transforming their appearance. A typical project takes five to seven days from start to finish, minimizing kitchen downtime.
Refacing replaces your doors and drawer fronts with new ones and applies a matching veneer to the cabinet boxes. This approach makes sense if your doors are warped, cracked, or structurally compromised, but it costs two to three times as much as refinishing and still leaves you with the same cabinet layout.
Full replacement is the nuclear option. It is necessary when the cabinet boxes are water-damaged, when you want to change the kitchen layout, or when the cabinets are simply at the end of their service life. The cost and timeline are substantial, and for most homeowners who simply dislike their cabinet color, replacement is overkill.
There are also non-refinishing alternatives worth considering if your budget is tight or if you want to test the waters before committing to a full transformation. Swapping dark hardware for brushed brass, matte black, or polished nickel can shift the cabinet’s visual weight. Adding under-cabinet lighting brightens the countertop workspace and reduces the cave-like feel. Installing lighter countertops or a reflective backsplash bounces more light around the room. Even removing a few upper cabinet doors to create open shelving can break up a wall of dark wood and make the kitchen feel more current.
How to Choose a Cabinet Refinishing Service in Castle Rock, CO
Selecting the right contractor for a dark-to-light project requires more diligence than hiring for a simple repaint. The transformation is technically demanding, and not every painting company has the specific experience to execute it well.
Start by asking to see before-and-after photos of dark-to-light projects the company has completed. A portfolio full of white-painted cabinets that started as white or light wood does not demonstrate the skill needed for your job. You want to see espresso turned to cream, honey oak transformed to soft gray. Those are the projects that prove competence.
Verify the factory-finish claim by asking specific questions about equipment and materials. What spray system do they use? Which paint or coating brands do they trust, and do those brands offer a warranty? Sherwin-Williams and Benjamin Moore both produce cabinet-specific coatings designed for this application, and a professional contractor should be able to name their preferred product line and explain why they use it.
Check local reputation with a focus on the communities served: Castle Rock, Castle Pines, Highlands Ranch, and Parker. Look for reviews that mention color matching, durability over time, and how the finish held up after a year or two of daily use. A fresh cabinet finish looks great on day one. The real test is how it looks on day 500.
Get a detailed written quote that itemizes every step: degreasing, sanding, priming, spraying, and reinstallation. A low-ball quote that seems too good to be true almost certainly skips steps, and in dark-to-light refinishing, skipped steps mean a finish that fails.
Frequently Asked Questions About Dark-to-Light Cabinet Refinishing
Can you restain cabinets from dark to light?
Yes, but the process requires sanding the wood down to its bare, natural state to remove all traces of the old pigment. Dense, open-grained woods like red oak are more challenging because the dark stain penetrates deeply. Professional refinishing services achieve far better and more consistent results than DIY attempts on this type of transformation.
How long does the refinishing process take?
A full kitchen refinishing project typically takes five to seven days from start to finish. This timeline includes deep cleaning, sanding, priming, spraying, curing, and reinstallation. The exact duration depends on the kitchen size, the wood condition, and the complexity of the finish.
Will the dark color bleed through the new light paint?
Not when proper preparation and priming are performed. Professional services use high-hide, stain-blocking primers specifically formulated to seal in tannins and old pigment. When sanding is thorough and the primer is applied correctly, bleed-through is prevented entirely.
Is it cheaper to paint or stain dark cabinets light?
Painting is generally slightly more affordable than staining because it requires less precision in grain preparation and color matching. Light staining over a previously dark surface demands extensive sanding and careful application to achieve an even tone, which adds labor hours to the project.
Ready to Transform Your Dark Kitchen? Contact Us Today
A brighter, more inviting kitchen is within reach without the cost and disruption of a full remodel. Professional cabinet refinishing services for dark wood to light finish deliver the dramatic change you want with the durability your family needs. Serving homeowners throughout Castle Rock, Castle Pines, Highlands Ranch, and Parker, Colorado, we provide free in-home consultations and detailed estimates for your project. Our factory-finish process, backed by local experience and a commitment to quality, ensures your kitchen looks stunning for years to come. Call or fill out our form to schedule your consultation and take the first step toward the kitchen you have been imagining.